Dylan Gondyke is the Mastercam Multiaxis Product Owner. He grew up in Eastern, Connecticut and entered the manufacturing industry at the age of 16, where he was immediately drawn to programming and process automation. His early experiences during the technology shift of the mid-2000s spurred a passion for building better tools and workflows for the end-user. He worked for aerospace companies across New England before joining Mastercam to contribute to the CAM experience of the future. Now he is the Multiaxis Product Owner and, as such, is privy to the most commonly asked questions about multiaxis machining. He shares the top four Mastercam Multiaxis FAQs below.
Which toolpaths do I use for which parts and surfaces?
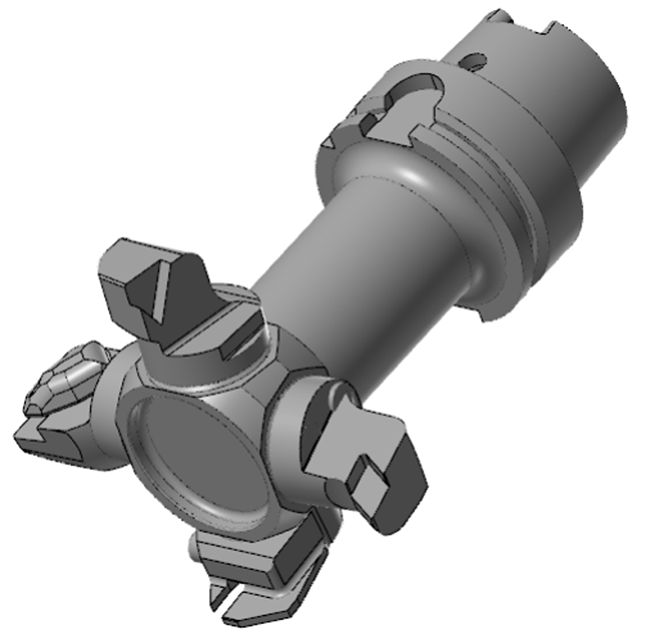
It can be intimidating when starting off with Multiaxis machining to open the software toolbox, so to speak, and try to find the perfect tool for your specific scenario. You ask yourself, “What cut pattern will work for my application? How do I learn this?” Even if you have chosen a toolpath, it can be time-consuming to make that commitment of then attempting to build that toolpath out completely, in order to be able to answer those questions.
What we have done with our Multiaxis product is tried to remove that challenge for programmers with the Multiaxis Unified toolpath. With Unified, we decouple the pattern choice from the rest of the toolpath options that are driving the machine. This allows the user to safely experiment with different cutting patterns in this sandbox and hone in on what pattern options they like for the part they are trying to process. This is as opposed to picking a single toolpath and having to see that down to the end of the road, only to find out that maybe it’s not what they needed for that part. With the approach that Multiaxis Unified gives you, there is no need to recreate the rest of the setup work and no risk of wasted time. This makes for an accelerated learning curve and encourages experimentation.
When do I need to step up to multiaxis programming?
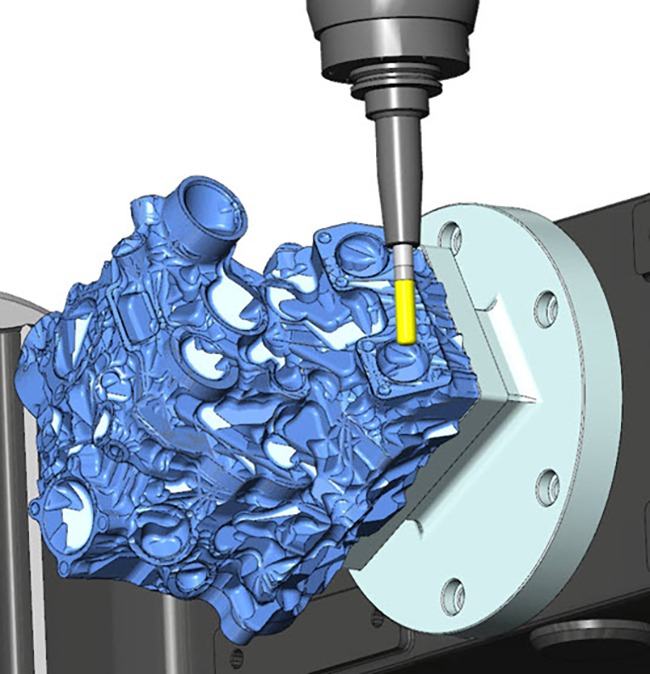
Multiaxis is an immediate benefit if your programmers and operators are spending too much time with setup or refixturing, which is often the case with complex parts. These parts usually pose a challenge for traditional 3-axis machining, because some of their cavities and curves can be difficult for cutting tools to reach without a multitude of specialized locating fixtures that are rendered obsolete if the part itself ever changes. When you do find your shop encountering more of these types of jobs, it might be time to consider taking the first step towards multiaxis machining with 3 + 2 positional machining techniques.
In 3 + 2, or positional multiaxis, you are using traditional 3-axis toolpaths and repositioning the part using the machine rotaries to allow access to different areas without physically refixturing. Luckily, this does not require any sort of multiaxis license or specialized machine-side tool tip control. All Mastercam Mill 3D users have access to this feature. It’s a stepping stone towards multiaxis with minimal overhead. With true multiaxis, the benefits are even greater, because you are reducing the number of operations and setups even further, as well as achieving truly spectacular surface finishes by eliminating blend areas. You will see reduced cycle times and reduced overhead for the entire job, because you are not having to design fixturing for each step and you are not having an operator loading and unloading that part multiple times. The less time consumed re-fixturing a part or interacting with the machine, the more conducive it is to lights-out machining.
Do I need third-party G-code simulation software to safely run Multiaxis?
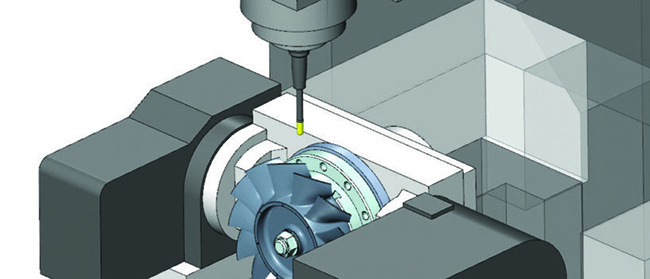
The short answer is no, especially not starting out. Fundamentally, when we post out to our NC code, we are going from vectors in space to motion commands for our machines, with all their linear and rotary axes. The post processor is translating that motion into something that specific machine can understand. In the past, this is where third-party simulation and verification software has been important; checking to ensure that the post output is predictable and safe. If you are starting out today, the best way to ensure this accurate translation is to start with a solid post processor. With Mastercam, we even have post processors that can be linked directly to our simulation to further enhance the accuracy of the on-screen motion in relation to the real-world physical machine motion.
Our in-software simulation can be broken down into three levels: Backplot, Verify, and true Simulation. In Backplot, we are checking the toolpaths by driving the tool around on the screen with no collision or stock considerations. In other words, all we are doing at this first stage is guiding the tool along the path it’s going to take, to examine the basic tool posture. This would be done as a fast way to review motion as a programmer iterates on a path idea. From there, we step up to Verify. This is where we start to take into account things like stock removal and potential tool and holder interferences with stock and fixturing components. The next and final step is Machine Simulation, where we consider the actual kinematic motion of the machine. The part, tool, and holder are positioned accurately in a complete machine model, moving as they would in real life.
To sum it up, the in-software simulation provides more than enough capability for users to work with before having to consider moving to third-party simulation if they have the correct post for their machine. Typically, where you see multiaxis integrations fail is when companies purchase a Multiaxis software package but ignore the benefits of investing in a quality post processor. This is where they can lose that predictable translation layer and start having problems with their machines not matching up with what’s on the screen.
How do I start?
Launching into the multiaxis world can be – understandably – daunting. In the past, access to training resources could be limited, and often, the only publicly available material came from forums or user YouTube videos. While these are still valuable resources, Mastercam has taken steps in recent years to make learning easier. Mastercam University is an online learning center full of self-directed courses that walk users through simple and advanced machining topics. It has a full, end-to-end Multiaxis course on all our toolpaths and on standard Multiaxis machining concepts as well.
We and many of our Resellers have also produced and released extensive official YouTube tutorials on everything from individual toolpath use to fully-fledged examples with real parts. Many Resellers also offer training at their location or will even visit your shop, and all of them will have their own Multiaxis resources and experts to give you a leg up. If you want in-person training, reach out to your local Reseller as a first step.
Our partners at camInstructor, Streamingteacher and TITANS of CNC have excellent, application-specific programs and tutorials which I find highly valuable. They show real-world problems, and how to go about solving them, instead of just lecturing on theoretical scenarios.
If you are ready to get started or have more questions, contact your local Mastercam Reseller here.
